Showing posts with label iOS5. Show all posts

Monday, January 23, 2012

How to Jailbreak iPhone 4S with Absinthe on Windows

These are instructions on how to perform an untethered jailbreak of your iPhone 4S using Absinthe for Windows.

Warning***: Before you continue make sure to do a backup of your device in iTunes as you may lose your Camera Roll during this process.


Step One
Download the latest version of Absinthe from here.

Step Two
Double click to extract the downloaded archive and launch the Absinthe application.


Step Three
As prompted, connect your iPhone 4S to the computer via USB. Make sure to remove any passcodes or VPN settings you've previously set.
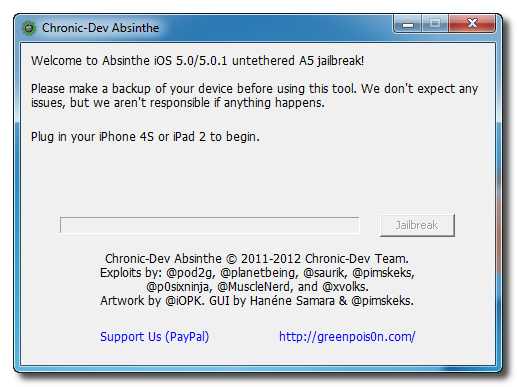

Step Four
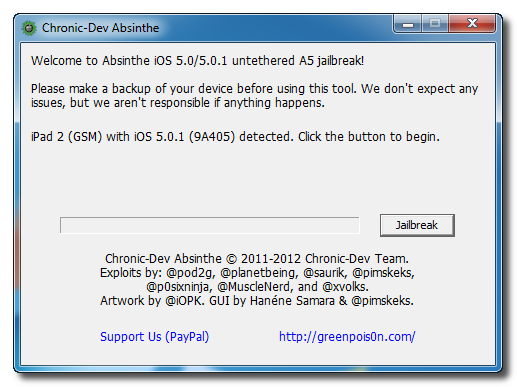
Click the Jailbreak button to begin
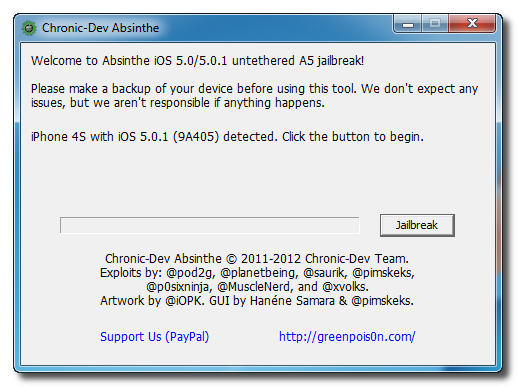

Step Five
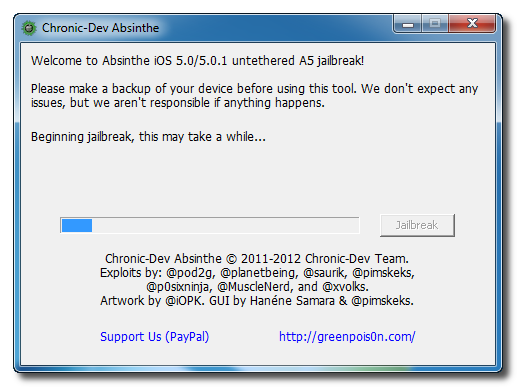
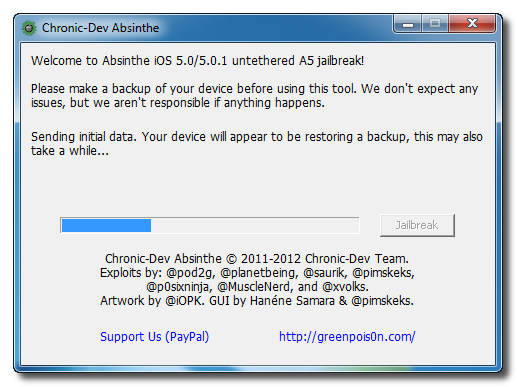
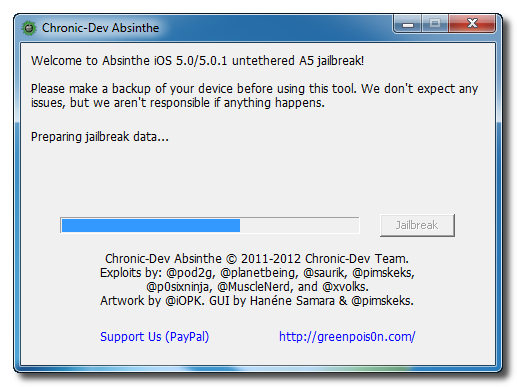
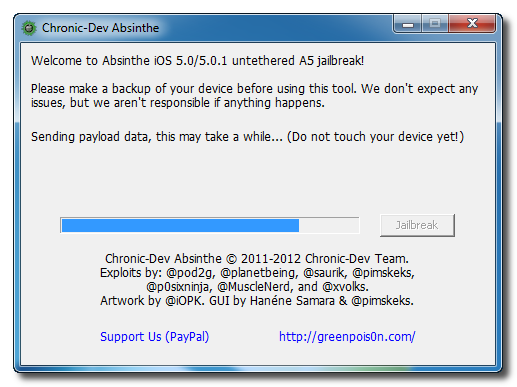
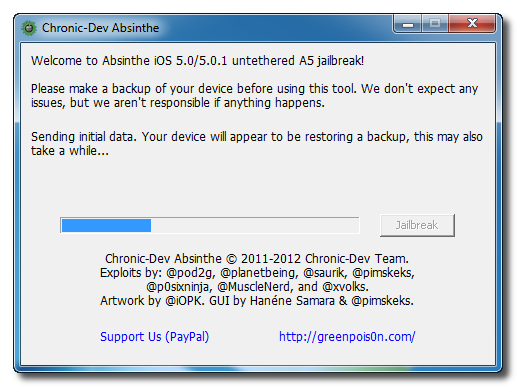
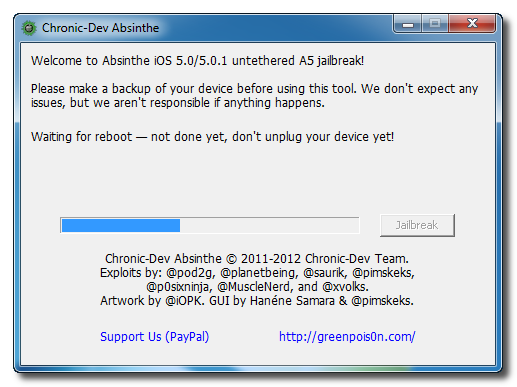
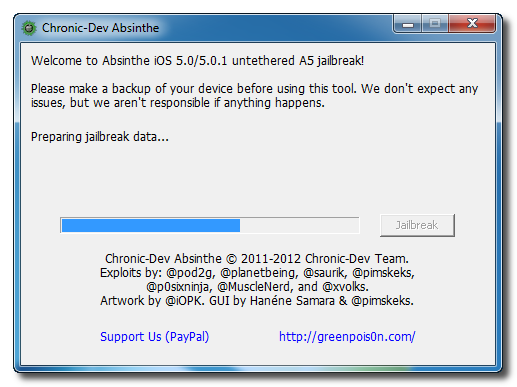
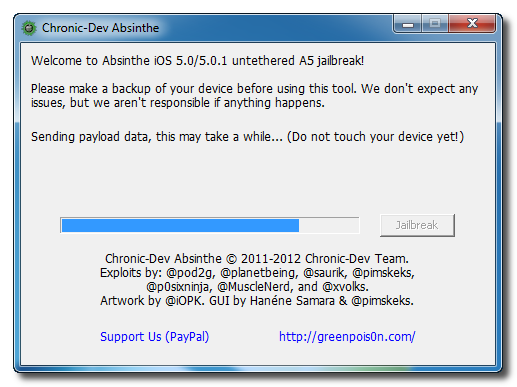
The application will take you through several steps of the jailbreak: Sending initial data, waiting for reboot, waiting for device to finish booting, Preparing jailbreak data, and Sending payload data.
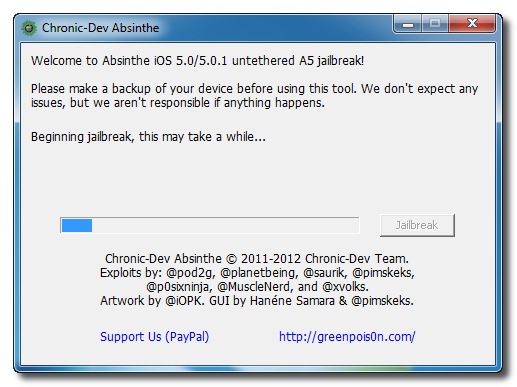

Step Six
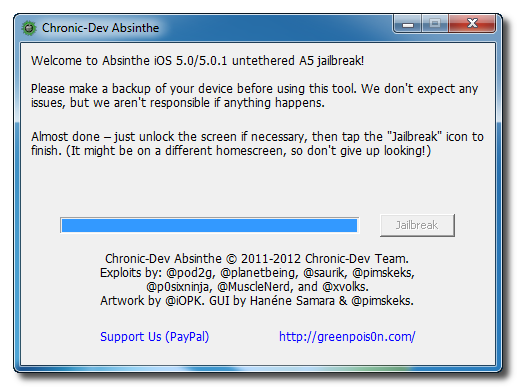
You will be informed that the jailbreak is 'Almost done'.
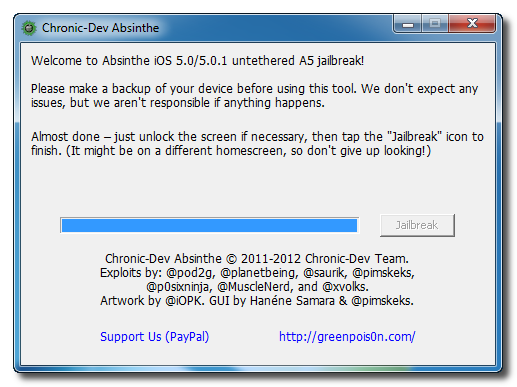

Step Seven
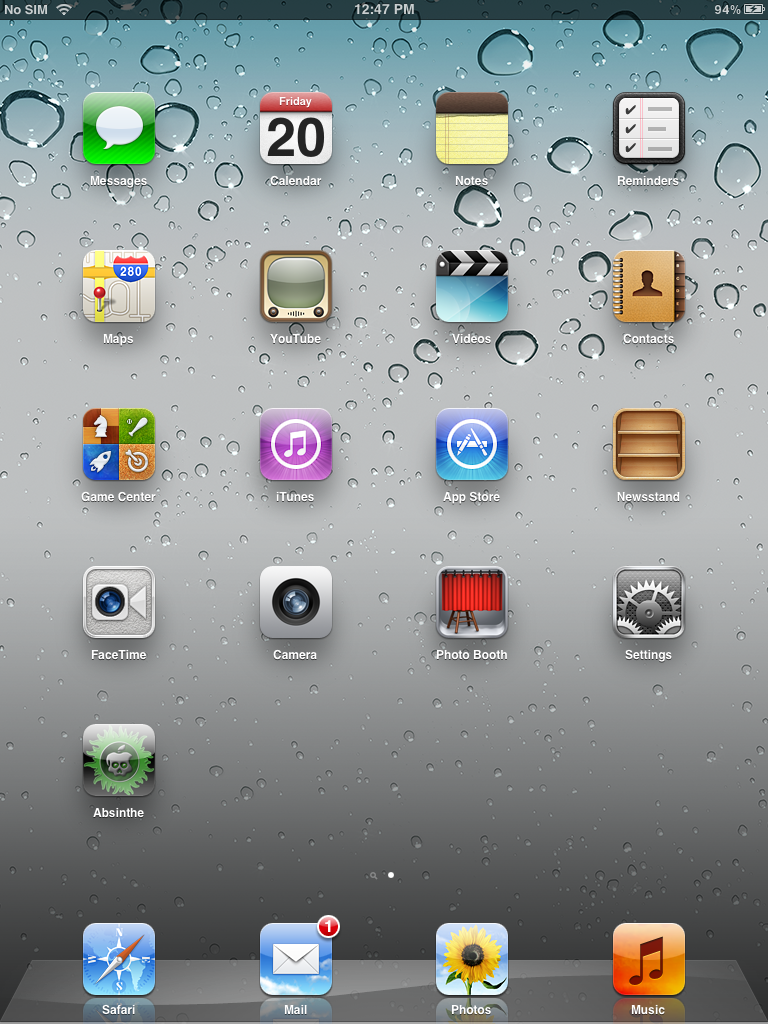
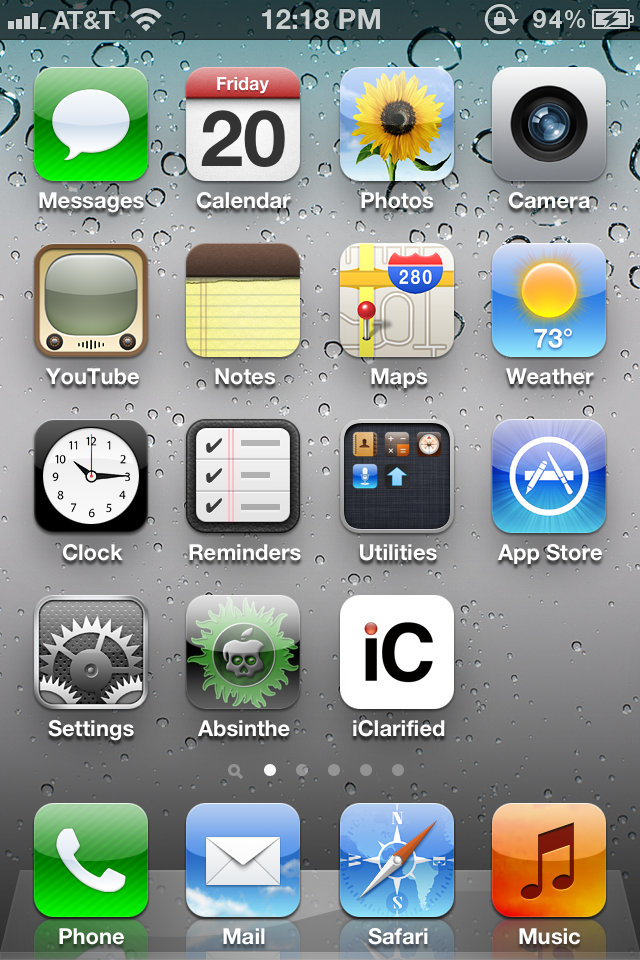
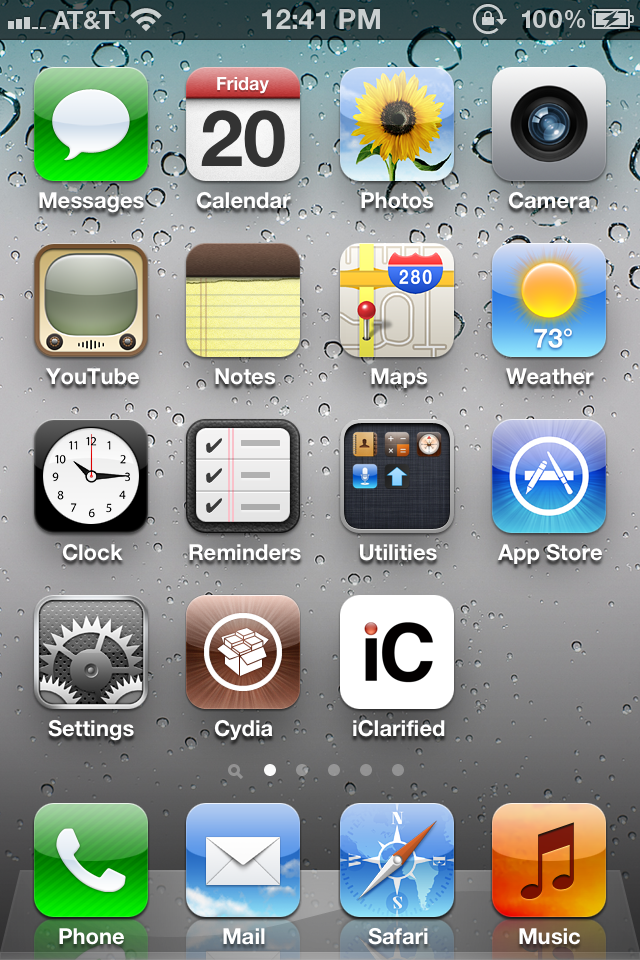
On your device, locate the Absinthe icon and press it to complete your jailbreak. It could be on any homescreen.

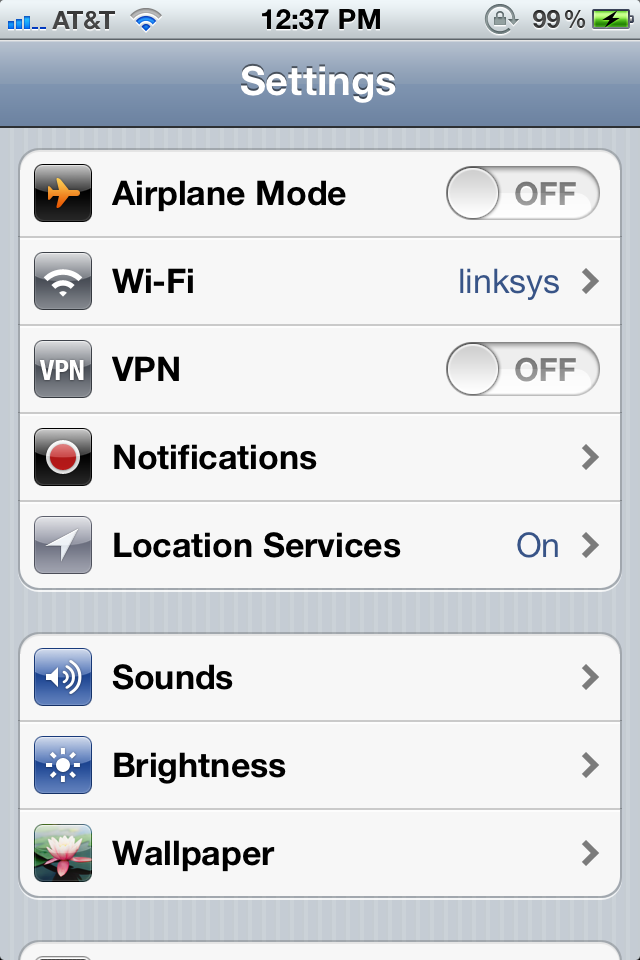
If the server is down and you get an Error establishing a database connection message then tap the Settings icon on your springboard and turn on VPN.
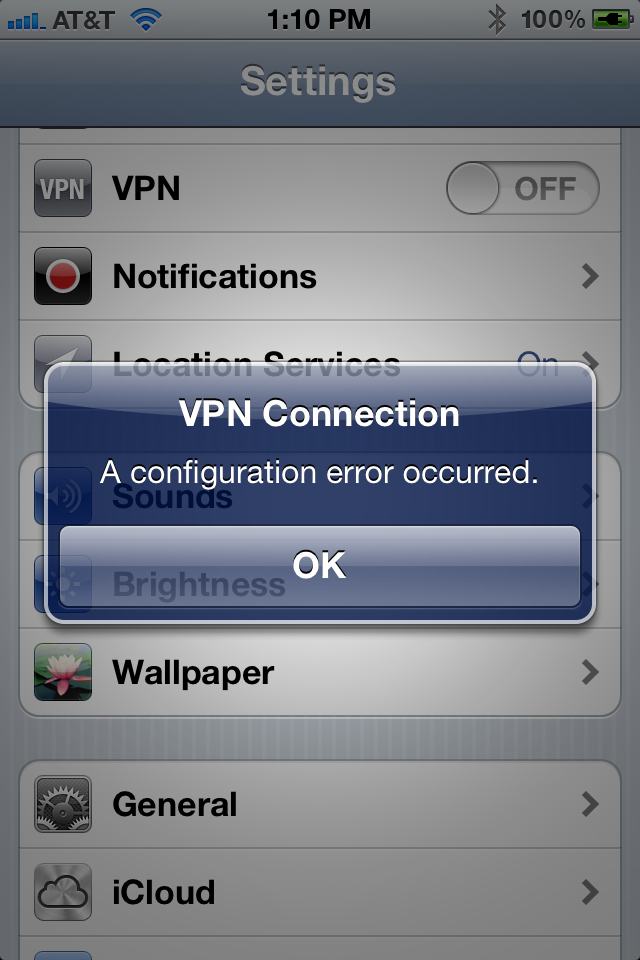
You will get a configuration error; however, after about a minute your device will reboot with Cydia on the Springboard!
How to Jailbreak Your iPad 2 Running iOS 5.0.1 by Absinth on WIndows

Step One
Download the latest version of Absinthe from here.

Step Two
Double click to extract the downloaded archive and launch the Absinthe application.


Step Three
As prompted, connect your iPad 2 to the computer via USB. Make sure to remove any passcodes or VPN settings you've previously set.


Step Four
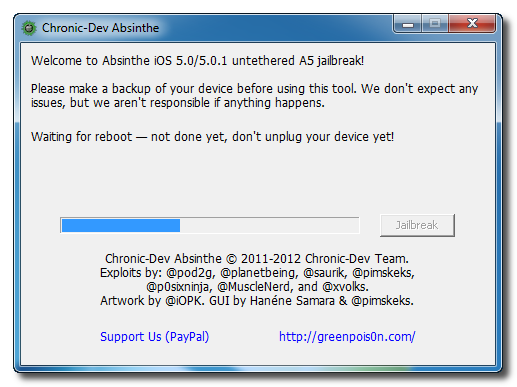
Click the Jailbreak button to begin


Step Five
The application will take you through several steps of the jailbreak: Sending initial data, waiting for reboot, waiting for device to finish booting, Preparing jailbreak data, and Sending payload data.


Step Six
You will be informed that the jailbreak is 'Almost done'.


Step Seven
On you device, locate the Absinthe icon and press it to complete your jailbreak. It could be on any homescreen.


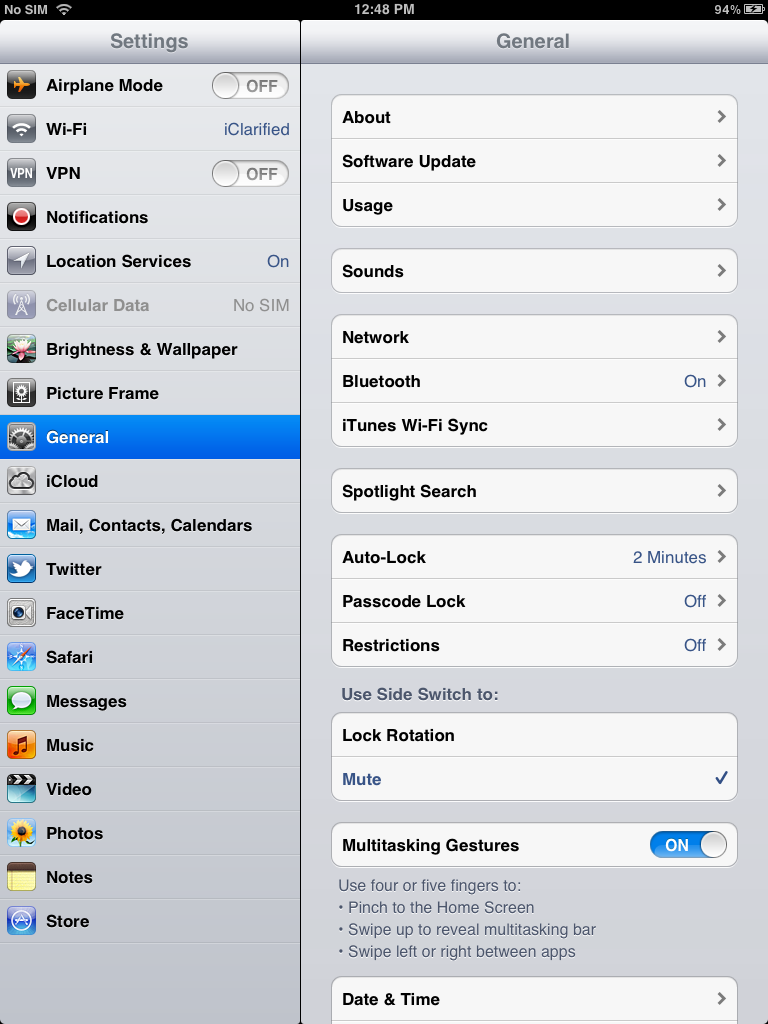
If the server is down and you get an Error establishing a database connection message then tap the Settings icon on your springboard and turn on VPN.


You will get a configuration error; however, after about a minute your device will reboot.


Once your device restarts you will be jailbroken with Cydia on the Springboard!
Saturday, January 21, 2012

iPhone 4S (5.0.1/5.0), iPad 2(5.0.1) A5 Chip Untethered Jailbreak with "Absinthe"


Today 21st January 2012, a team of Jailbreaker has released a tool for jailbreak A5 Chip iPhone4S and iPad2 which everyone were waiting for along time. Absinthe new jailbreak tool was uploaded to download and jailbreak your device.
These below are the instructions to jailbreak iPhone 4S and iPad 2:

Before doing these you better backup your data with iTune first (recommand)
we are NOT responsibility for you work with jailbreaking but I have done it . 
Make it with your risk .!!!!!!

1.Devices for Jailbreak
.iPhone 4S iOS 5.01 / 5.0
.iPad 2 iOS 5.0.1

2.Download Absinthe Tool :
   Download for Mac only
   Download for Windows only ( Coming soon )
   Download for Linux only ( Coming soon )

3.Plug your iPhone4S or iPad2 to computer then Launch Absinthe in your machine ( laptop or PC ) that you just downloaded and extracted out.
     NOT***     - Make sure your device DOES NOT turn on Passcode Lock
                     - While processing DO NOT unplug your device Just waiting...

4.When the Absinthe appear in your Home screen then go to Setting >> General >> Network >> VPN >> ( you must show jailbreak custom ) then Turn on VPN then it will show something and click then it will restart itself.


5.Cydia will appear instead of Absinthe in Home screen >> launch Cydia >> wait about a while the it will restart again !!!! >> then you have done your job !!


Article by : MR.KEOVESSNA VONG@BUU-CS

Sunday, November 27, 2011

PwnDevTeam Released Ac1dSn0w, a New Utility to Jailbreak iOS 5

This is huge, PwnDevTeam has released a beta of Ac1dSn0w, a new utility to jailbreak the iPhone 4, iPhone 3GS, iPad 1, and iPod touch 4G on iOS 5.
I'm pleased to announce that we've just released Beta 1 of Ac1dSn0w for Mac OS X Lion (should also work on Snow Leopard). Ac1dSn0w allows you to jailbreak your iDevice tethered. It also provides features like Tethered Boot, Pwned DFU, and Exit Recovery to get your device out of Recovery Loop.
Supported Devices (iOS5/iOS5.0.1):
iPhone 3Gs
iPhone 4
iPod Touch 4 G
iPad 1
The team has posted the following steps to using their new utility.
How to Jailbreak iOS5/iOS5.0.1 via Ac1dSn0w:
1. Download Ac1dSn0w from [Here] [Mirror]
2. After downloading, open it and you'll see the following screen:

Note: You can click 'Show Console' to see some device related information. It also shows you the current state of your jailbreaking process. The Assistant Panel helps you to put your device into DFU Mode.

3. Connect your device with your Mac.
4. Turn your device off.
5. Click 'Show Assistant' and follow the onscreen instructions to enter DFU Mode.
6 . Once you're in DFU Mode just hit the 'Jailbreak' Button and wait until it's done (the device will reboot).

7. Put your device again into DFU Mode (Step 5) and hit the 'Tethered Boot' Button.

Done: Your device should now be jailbroken with Cydia installed.
Upcoming Features
The current version of Ac1dSn0w is in an early development stage. In the future it will also be able to jailbreak remote devices. This means that you just need to install a server program on any OS (Linux, BSD, Windows) and Ac1dSn0w will jailbreak it on a client machine anywhere in the world.  Other upcoming features are:
Custom Firmware Creation
iRecovery Remote (you can talk to remote devices and send your own payloads etc)


Hit the link below to learn more about the utility.

Wednesday, November 9, 2011

How to update iOS device to iOS 5 successfully [Khmer Language]

វិធីដំឡើងទៅកាន់ប្រព័ន្ធ iOS 5 សំរាប់ iPhone 3GS, iPhone 4, iPod Touch និង iPad 1

Upgrade to iOS5
ប្រព័ន្ធ iOS5 បានចេញមកហើយ ជាមួយនឹងមុខងារជាច្រើនដូចជា iCloud, មុខងារដាស់តឿនថ្មី, iMessage និងមុខងារជាច្រើនទៀត។ សំរាប់បច្ចុប្បន្ន ការ Jailbreak នៅលើ iOS5 គឺជាប្រភេទ Tethered Jailbreak តែប៉ុណ្ណោះ ដែលនេះ មានន័យថា ពេល Restart ម៉ាស៊ីនម្តងៗ តំរូវអោយលោកអ្នក ភ្ជាប់វាទៅកាន់កុំព្យូទ័រ រួចដំណើរការមុខងារ Just boot នៅលើកម្មវិធី redsn0w បើមិនដូច្នោះទេ iPhone/iPad 1 របស់លោកអ្នក នឹងនៅជាប់គាំងត្រង់រូប Apple មិនខាន។ សំរាប់អ្នកដែលប្រើ iPhone Original អាចដោនឡូដ iOS 5 Stock OS ហើយដំឡើងយកតែម្តងនៅលើ iTunes មិនចាំបាច់ បង្កើត Custom Firmware នោះទេ។ តែសំរាប់អ្នក ដែលប្រើ iPhone Locked ហើយចាំបាច់ត្រូវប្រើ ជើងស៊ីម Gevey ឬ ultrasn0w ដើម្បីដោះកូដ ប្រើស៊ីមស្រុកខ្មែរ ត្រូវរក្សា Baseband ជាមុនសិន មុននឹងដំឡើង។ ខាងក្រោមនេះ គឺជាវិធី បង្កើតឯកសារដំឡើង Custom Firmware ដែលរក្សា Baseband និងវិធីដំឡើងទៅ iOS5 តាមរយៈ iTunes។
កំណត់ចំណាំ:
-កំរិតលំបាក: សំរាប់អ្នកជំនាញ
-ពេលដំឡើងទៅកាន់ iOS 5 ហើយ លោកអ្នក មិនអាចត្រឡប់មក កំណែទំរង់ iOS 4 បាននោះទេ
-បានតេស្តនៅលើ iPhone 4 Locked (Baseband: 01.59.00)

តំរូវការជាមូលដ្ឋាន:
-កម្មវិធី sn0wbreeze 2.8b8 ដោនឡូដពីទីនេះ: http://bit.ly/tuhKKu
-កម្មវិធី redsn0w 0.9.9b7 ដោនឡូដពីទីនេះ: http://bit.ly/ssTQMt
-កម្មវិធី iTune 10.5 ដោនឡូដពីទីនេះ: http://www.apple.com/itunes/
-ឯកសារដើមប្រព័ន្ធ iOS 5 Stock OS:
  >iPhone 4 GSM
  >iPhone 3GS
  >iPod Touch 4G
  >iPod Touch 3G
  >iPad 1

1.វិធីបង្កើត iOS 5 Custome Firmware សំរាប់ប្រើក្នុងការ Restore

1. ជាដំបូង សូមដោនឡូដ ឯកសារដំឡើងប្រព័ន្ធ iOS 5.0 Stock OS ពីលីងខាងលើ ទៅតាមប្រភេទ iPhone របស់លោកអ្នក។ រួចសូមបើកកម្មវិធី sn0wbreez ដោយចុចម៉ៅខាងស្តាំលើវា ហើយរើសយក Run as administrator។ ចុច OK-> Close Credit បន្ទាប់ចុចសញ្ញាព្រួញទៅមុខ -> ដើម្បីបន្ត។
Upgrade to iOS 5Upgrade to iOS 5Upgrade to iOS 5Upgrade to iOS 5
2. ចុចប៉ូតុង Browse រួចចូលទៅកាន់ទីតាំងដែលបានដោនឡូដ ឯកសារដំឡើងប្រព័ន្ធ iOS 5.0 Stock OS រួចចុចប៉ូតុង Open។ កម្មវិធីនេះ នឹងធ្វើការពិនិត្យឯកសារនេះ ថាតើវាត្រឹមត្រូវ ឫអត់។ បើវាត្រឹមត្រូវ នោះវានឹងចេញផ្ទាំង 5.0 [GM] (9A334) IPSW Verified!។
Upgrade to iOS 5Upgrade to iOS 5Upgrade to iOS 5
3. ចុចយក “Baseband Preservation Mode” បន្ទាប់មកចុច សញ្ញាព្រួញទៅមុខ -> ដើម្បីបន្ត -> Yes។ រង់ចាំមួយសន្ទុះ ប្រមាណ 10-20 នាទី អាស្រ័យលើល្បឿនកុំព្យូទ័ររបស់លោកអ្នក។ នៅពេល វាលោតផ្ទាំង Done នោះលោកអ្នក នឹងទទួលបានឯកសារ sn0wbreeze_iPhone 4-5.0.ipsw នៅលើផ្ទាំង Desktop របស់កុំព្យូទ័រលោកអ្នក មិនខាន។ នេះ ហើយគឺ ជាឯកសារដំឡើង Custom Firmware របស់យើងដែលរក្សា Baseband។ លោកអ្នក អាចបិទកម្មវិធី sn0wbreeze បានហើយ។
Upgrade to iOS 5Upgrade to iOS 5Upgrade to iOS 5Upgrade to iOS 5

2.វិធីធ្វើអោយ iPhone ស្ថិតក្នុងសភាព DFU

4. បើកកម្មវិធី redsn0w.exe ដោយចុចម៉ៅខាងស្តាំលើវា រួចរើសយក Run as administrator។ ចុចលើប៊ូតុង Extra-> Pwned DFU។ ដោត iPhone ទៅកាន់កុំព្យូទ័រ រួចចុចបិទទូរស័ព្ទ បន្ទាប់មកចុចប៊ូតុង Next។
Upgrade to iOS5.12 copyUpgrade to iOS5Upgrade to iOS5Upgrade to iOS5
5. បន្ទាប់មក ចុចប៉ូតុង Power (ប៉ូតុងបិទ-បើកទូរស័ព្ទ) អោយជាប់ 5 វិនាទី។ បន្តចុចប៊ូតុង Power រួចចុចប៉ូតុង Home (ប៉ូតុងមូលនៅកណ្តាលខាងក្រោមអេក្រង់) អោយជាប់ប្រមាណ 10 វិនាទី រួចបន្ទាប់មក ព្រលែងប៉ូតុង Power តែនៅចុច ប៉ូតុង Home អោយជាប់ដដែល ប្រមាណ 15 វិនាទី។ វានឹងលោតផ្ទាំង Exploiting with Limera1n ពេលនេះ លោកអ្នក អាចព្រលែងប៉ូតុង Home បានហើយ។ វានឹងចេញថា Done! ហើយនៅលើ អេក្រង់លោកអ្នក នឹងចេញផ្ទាំងខ្មៅ ដែលមានន័យថា iPhone របស់លោកអ្នក ស្ថិតក្នុង DFU ហើយ។
កំណត់សំគាល់់ៈ ក្នុងករណី ធ្វើទៅមិនបានសំរេច សូមចាប់ផ្តើម ជំហានទី 5 ម្តងទៀត។ ជួនកាល ត្រូវធ្វើ 4-5 ដងទើបបានសំរេច។
Upgrade to iOS5Upgrade to iOS5Upgrade to iOS5Upgrade to iOS5Upgrade to iOS5

3.វិធី Update ទៅកាន់ iOS 5.0 តាមកម្មវិធី តាមរយៈ iTune

6. ក្រោយពីធ្វើអោយ iPhone ស្ថិតក្នុងសភាព DFU ហើយ សូមបើកកម្មវិធី iTune។ លោកអ្នក ត្រូវភ្ជាប់អ៊ីនធើណែត ទើបអាចបន្តទៅកាន់ជំហានបន្ទាប់បាន។ បន្ទាប់មក iTune នឹងលោតផ្ទាំងថា វាត្រូវការឆែកជាមួយ server ដើម្បីសំគាល់ទូរសព័្ទរបស់យើង។ សូមចុចប៉ូតុង Check រួចចុច OK។
Upgrade to iOS5Upgrade to iOS5
7. ក្នុងផ្ទាំង Restore នេះ សូមចុចប៉ូតុង SHIFT នៅលើឃីប៊តអោយជាប់ រួចសឹមចុចលើប៉ូតុង Restore។ បន្ទាប់មក ចូលទៅផ្ទាំង Desktop កុំព្យូទ័រ រួចរើសយកឯកសារ sn0wbreeze_iPhone 4-5.0.ipsw ដែលទើបបង្កើត។
Upgrade to iOS5Upgrade to iOS5
8. បន្ទាប់មក ចុច Restore រួចរង់ចាំ រហូតការដំឡើងបានចប់សព្វគ្រប់។ បន្ទាប់មក iPhone របស់លោកអ្នក នឹង Restart មិនខាន។
បន្ទាប់មក ចុច Restoreបន្ទាប់មក ចុច Restore

4.វិធី Activate iPhone សំរាប់លោកអ្នក ដែលប្រើ iPhone ជាប់កូដ

9. ពេលវា Restart រួច វានឹងលោតផ្ទាំង ទាមទារ Activation។ សូមដាក់ស៊ីមកាត AT&T អាមេរិក រួចដកខ្សែ ហើយដោតខ្សែ USB វិញ។ នោះ iTune នឹងធ្វើការ Activate ទូរស័ព្ទលោកអ្នក មិនខាន។ បន្ទាប់មក ចុចរើស Set up as a new iPhone រួចចុច ប៊ូតុង Continue-> Done ជាការស្រេច៕
Downgrade-Restore iOS 4.3.3Downgrade-Restore iOS 4.3.3
Downgrade-Restore iOS 4.3.3
ឆែកមើល Baseband នោះលោកអ្នក នឹងឃើញ Baseband Version ចាស់មិនខាន:
Upgrade to iOS 5

មើល Tethered Jailbreak ប្រព័ន្ធ iOS 5 និងវិធី Boot វា: នៅទីនេះ

ដោះស្រាយ Error ពេលដំឡើង:

- Error 16: កើតឡើងដោយសារ តែឯកសារដំឡើង Custom Firmware មានទំហំមិនត្រឹមត្រូវ សូមបង្កើតវាម្តងទៀត
- Error 3194: បើកកម្មវិធី Tiny Umbrella -> Advanced រួចដោះ Tick ពីមុខពាក្យ Set Hosts to Cydia on Exit រួច Restart កុំព្យូទ័រ។ បើនៅតែមានបញ្ហានេះដដែល នៅលើកុំព្យូទ័រ សូមចូលទៅ C:\Windows\System32\drivers\etc\ រួចបើកឯកសារមួយឈ្មោះ hosts ដោយប្រើកម្មវិធី Notepad ហើយលុបឃ្លាចុងក្រោយដែលមានពាក្យ xx.xxx.xxx.xxx gs.apple.com រួចបិទបើក iTunes ហើយធ្វើការ update ម្តងទៀត